Showing posts with label Food. Show all posts

Wednesday, August 15, 2012

Cake Pops my new fav

Cake Pops and I are not friends.

In fact, we have a very turbulent relationship. Every time I 'try' and make Cake pops they are an epic fail. The candy melts never melt properly - in fact I used to over 'cook' them so they were all lumpy and I find that Candy melts just aren't 'smooth' enough for cake pops, as in the chocolate just is not dippable. So under the advise from a friend who is an expert at cake pops I used Nestle Melts instead and woo hoo - they worked. I am over the moon. Now what I have to do is work out how to do them a little smaller.

I used a 1.75" Meat Baller - best thing invented and fabulous to use for cake balls. It is so quick with the baller. I just bought 2 more - both 1.25" so they are a little smaller. So cool. Anyway. I did it. *do happy dance*. Seriously I was Cake Pop challenged and I finally got it right. Now to make some seriously different flavours. I just used a premade cake with icing from the local bakery. Used 3/4 of the cake and made 17 cake pops.

My Miss using the meat baller.
Making nice round balls.
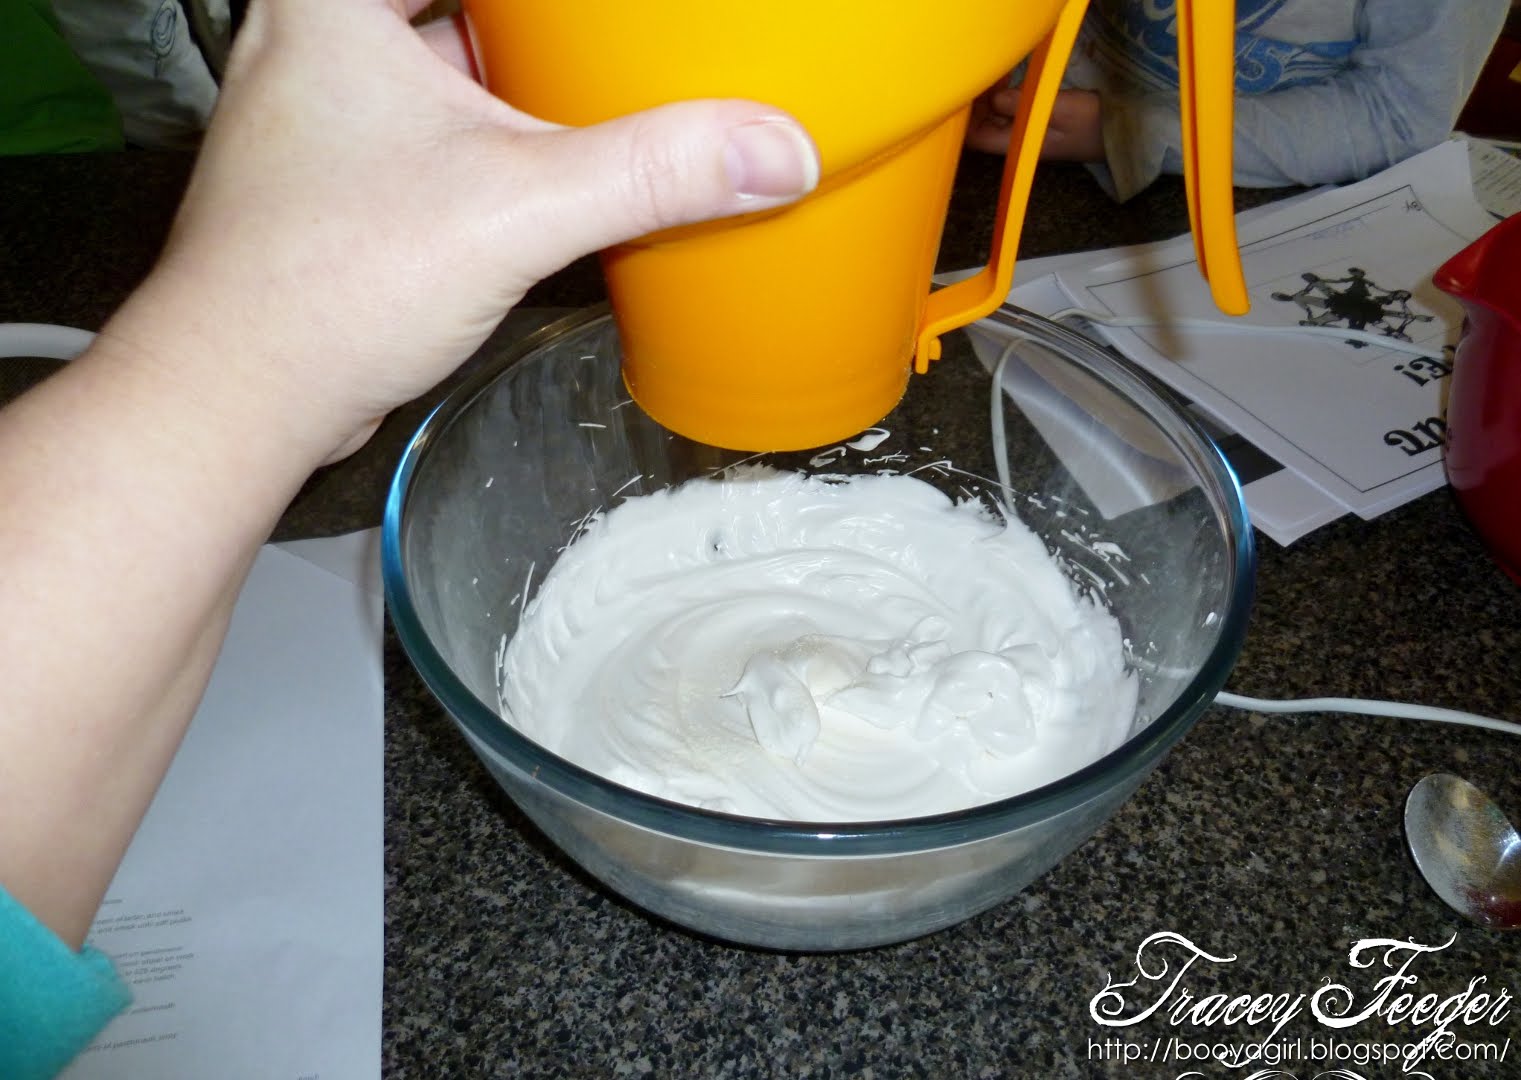
Melt chocolate in microwave at 50% power.
Sorry about yuck color - just trying out some powder colour.
Make sure you have lots of chocolate on end of stick so when you put in ball it holds it up
when it is ready to go.
All 'staked' ready to put in the fridge to chill.
Choc all melted.
Dip, swirl, tap off excess. Easy.
Ashley eating the left over chocolate.
I melted some Candy Melts and dipped the tops in it.

Saturday, August 4, 2012

Chocolate Whoopie Pies with marshmallow frosting

No I am not going through a baking obsession....!!!

I am trying to give my kids more of a range of desserts and sweets snacks other than the store bought ones and plus my 6yr old son Lachlan wants to be a chef. We will see how long that lasts but we will be buying him stuff for Christmas and birthday to enhance his enjoyment of cooking and baking. I just have to get over my total dislike of mess - which is something that is unavoidable when kids are making food.

I made some awesome Chocolate Whoopie Pies. Once again I forgot to wrote down where the recipe came from so am sorry about that.

Ready to go in the oven
Lachlan making the 'cookies'. Look at his mouth lol.
The mix. OMG this was awesome by itself.
Just out of the oven. These tasted nice just by themselves.
With marshmallow frosting.
Unlike the Red Velvet Whoopie Pies these actually taste awesome with the frosting in the middle.

Chocolate Whoopie Pies
Ingredients:
1/2 cup shortening
1 cup sugar
2 egg yolks
5 tablespoons of cocoa
2 cups sifted flour
1 teaspoon each of baking powder, baking soda and salt
1 teaspoon vanilla
1 cup milk

Sifted all dry ingredients.
Cream the shortening and sugar (this will not cream like butter and sugar so mix until combined). Add and mix the egg yolks. Add the dry sifted ingredients a little at a time - alternate with a portion of the milk with vanilla. Mix well until all combined.

Drop the batter on a baking tray lined with baking paper, leave room for them to spread. Bake at 190 degrees celcius for 7 -10 mins (I did mine for 8 1/2). Remove and let cool. When completely cooled put frosting in the middle and sweeze to the edge.

Marshmallow Frosting
Ingredients:
1/2 cup shortening
2 cups icing sugar
2 egg whites
1/4 teaspoon salt
2 tablespoons marshmallow fluff/creme (I doubled that amount).

Mix all the ingredients together until well combined. Easy peasy.

This recipe yielded about 20 pies - depends on how big you make them. They are very soft - very much like an actual cake so if you want them firmer you might have to alter the mix a bit so it is a little drier.

These are so much better than the red velvet ones. The frosting makes them taste better. Kids love them and believe it or not so does my hubby. LOL. Enjoy your weekend.

Friday, August 3, 2012

Red Velvet Whoopie Cookies with Cream Cheese frosting

As you all know I have been looking up yummy recipes and I stumbled across Whoopie Cookies. Never heard of them before but they sounded good, as you know cake mix made in to a cookie it pretty darn good to me - so thought I would give them a go.

This is a really simple thing to make. Not many steps. I don't know where I got the recipe from as when I print them off - if they don't have the blog or website on the page I don't remember to write it down so very sorry for that.

Cookies ready for the oven.
Just out of the oven.
Ready to be iced with cream cheese frosting.
My miss enjoying the frosting.
Frosted and looking oh so yummy.
I tried one or two of the cookies by themselves which was oh so yummy. I ate one of the put together cookies and must admit that it was so very sickly sweet. Maybe it is because I am not one for super sweet things anymore. Next time (if there is one) I will make them without the frosting. They are good - seriously - by themselves.

Red Velvet Cake Whoopie Cookies
Ingredients:
1 box of red velvet cake mix
2 eggs, lightly beaten
1/2 cup vegetable oil

Frosting Ingredients:
225gms cream cheese (8oz) softened (I used the spreadable)
1/4 cup butter, softened
2 teaspoons milk
1 tsp vanilla
3-4 cups powdered sugar

Method:
Preheat oven to 185degrees celcius
Mix together cake mix, eggs and oil. Roll the dough in to balls the size of walnuts. Place two inches apart on baking tray.

Bake in the preheated oven until tops start to crack, about 8 minutes. Cool on trays for 10 mins and then put on wire rack to cool completely.

In a large bowl combine cream cheese, butter, milk and vanilla. Add powdered sugar 1 cup at a time, mixing well with each addition. If consistency is too stiff, add more milk.

Spread a generous amount of icing on the bottom cookie and sandwich it in between another cookie until the icing comes to the edge. Repeat for remaining cookies. Makes about 15-20 cookies.

The recipe for the frosting makes a large amount. Next time I will be halving it as I had to throw half of it out.

Sunday, July 29, 2012

NY Style Cheesecake

Over the last couple of weeks I have become addicted to 'Cake Boss' the show about Buddy and his family business - Carlos' Bakery in Hoboken NY. In one of the episodes they go to Italy and some of the bakers there asked if they could show them how to make a NY Cheesecake. So I did a Google search and found a recipe at Joy for Baking - here. Such a simple recipe and was quite easy to make - well except for the hand mixer I have wouldn't mix the cream cheese very well even sitting at room temp for over an hour.

As I only had a 8" springform pan I decided to make a couple of small ones without the Digestive Biscuits. Turned out really well - and the bonus is that I can freeze them and eat another day. It is creamy and very rich - but oh so yummy. It wasn't wobbly in the middle. I cooked for 85mins.
Right out of the oven. We ate it hot but can't wait to try it cooled down. This recipe calls for sour cream and sugar mixed as a topping but we opted not to have that.
Yummo.....!!!!

New York Style Cheesecake from Joy of Baking
Crust
2 cups Graham crackers or digestive biscuits (200g)
1/4 cup (50gms) white sugar
1/2 cup (114gms) unsalted butter - room temp - I actually used about 15gms more as it just didn't seem enough.

Filling
1kg (4 blocks in Oz) cream cheese - full fat
1 cup (200g) white sugar
3 tablespoons plain flour
5 eggs - room temp
1/3 cup heavy whipping cream - double cream
1 tablespoon lemon zest
1 teaspoon vanilla essence

For Crust: In a medium sized bowl combine the graham cracker crumbs, sugar, and melted butter. Press the crumbs evenly over the bottom and about 1 inch (2.5 cm) up the sides of the springform pan. Cover and refrigerate while you make the filling.


For Filling: In bowl of your electric mixer place the cream cheese, sugar, and flour. Beat on medium speed until smooth (about 2 minutes), scraping down the bowl as needed. Add the eggs, one at a time, beating well (about 30 seconds) after each addition.Scrape down the sides of the bowl. Add the whipping cream, lemon zest, vanilla extract and beat until incorporated. Remove the crust from the refrigerator and pour in the filling. Place the cheesecake pan on a larger baking pan and place in the oven.


Bake for 15 minutes and then lower the oven temperature to 250 degrees F (120 degrees C) and continue to bake for about another 60 -90 minutesor until firm and only the center of the cheesecake looks a little wet and wobbly. (The baking time can vary due to the differences in ovens, so make sure to check that the cheesecake is firm with only the center being a little wet and wobbly.) Remove from oven and place on a wire rack.


Remove from oven and carefully run a knife or spatula around the inside edge of pan to loosen the cheesecake (helps prevent the surface from cracking as it cools).


Let cool completely before covering with plastic wrap. Refrigerate several hours, preferably overnight.

Wednesday, July 25, 2012

Cookie Dough Balls

I love cake balls and cake pops - frankly there is nothing more delicious but I decided I wanted to take the easy way out and make cookie dough balls or you can also do cake dough balls (didn't want to try that just yet). So I made up a Basic Cookie recipe dough and made these balls -with the help of my little missy. Can you see which ones she did.

They were chilled in the fridge for about an hour (as the candy melts didn't work for me AGAIN).
As I didn't want to use all the dough for the balls I used my new cookie cutter that I got in a Candy shape to make some biscuits - I must say they won't last long when my boys come home.
My little miss waiting for the Candy Melts to be melted. Unfortunately they were just a lumpy mess - I have resigned myself to sticking with compound chocolate or what we call Nestle Melts (here in Australia). Apparently Cadbury now have their version of the Melts. Yet to find in a supermarket.
Here is the finished products. I must say they are divine. Can you think of all the other possibilities - mint, choc chip, caramel, chocolate - wow so many variations. I love them. Ashley (miss) likes the dough by itself LOL typical. She would lick a bowl clean when I make a cake. She loves the mix.
Basic Cookie Dough
1Cup flour
1 Cup of self raising flour
1/2 cup of sugar ( I used castor sugar)
125gms butter (I used unsalted)
1 egg
pinch of salt

Cream the butter and sugar until fluffy.
Add all other ingredients and mix together. If too dry add a touch of milk.
Flour a bench or board and knead your dough.
Make in to balls and refridgerate for 30mins.
Melt some chocolate and coat the balls. Leave to dry. I have pop mine in fridge so they are nice and firm.

For cookies just roll dough with rolling pin and cut out shapes. Cook in oven at 180 degrees for 15mins or golden brown.

Tuesday, July 24, 2012

Choc Peppermint Cupcakes

Yes more yummy naughty food and oh so delicious too.

Lachlan was so disappointed when we made more Macarons yesterday that I didn't do the Peppermint cream for the filling like I said I would so I cooked up a Duncan Hines Devils Food cake mix and made my own buttercream with Peppermint Essence and food colouring. Ta dah....!!!!! Gotta add some Peppermint Crisp on to the top - in fact it is what makes these cupcakes so yummy - the topping. Next I think I will get some Peppermint flavoured Aero chocolate and put in the middle.


I love coconut so I am thinking I will make a coconut cupcake or even some coconut cookies. Yummo.

Sunday, July 22, 2012

Chef in the making

My middle child Lachlan is 6yrs old and he is so much like me. Anything he puts his heart in to creatively he does his best at and most of the time is really good at it too. He 'builds' things. Most of the time he is grabbing boxes that are ready for recycling and cutting and sticking them together to make something - anything - he just builds. He told us one day that he is going to be a builder. Fantastic mate you go for it was all he got from us, as we are as proud as punch that he is so talented.

A couple of months ago - out of the blue - he tells us he wants to be a chef. Don't know where he got the idea from and I have been very tentative to let him 'create'. I am sure he will be good at it if he get the opportunity to actually do some cooking or baking. So I bit the bullet on the weekend and let him 'create' some macaroons with me. We made traditional macaroons that made very little of them so next time we will be doubling the recipe.

Here he is 'mixing' the egg whites.

Meringue ready for the almond flour and icing sugar mixture.
I didn't take any photos other than the finished product after this.
Here is the finished product. As you can see this is only a couple of them. I had a few of them crack on me and some of them were way too big but for my first go they were good. First time I have tried tasting them too and I love them. Unfortunately I ate most of them because they were so mouthwatering good. As you can see there are lumps and that is after sifting the flour/icing sugar mix three times. Maybe it was my folding technique - I simply don't know but we did it and hopefully it will work out better next time.

I got the recipe for these at Martha Stewart here.

Wednesday, July 11, 2012

Fudge cupcakes with a twist

Recently I have been making lots of food and experimenting with different dishes. Most of it has been healthy sugar free foods but I have been researching party food and came across a blog that has 'experiments' with cupcakes, it is called Bake it in a cake. Although this creation did not come from her site the idea certainly did so I must give credit. It is great to see so many different ways of having cupcakes.

My kids loved them - or at least they said they did but I have no idea as I can't eat them.
If you are in Australia you know what a Mint Slice and Caramel Crown biscuit/cookie is. I just put a little bit of the cake mix at the bottom of the cupcake paper and then put the biscuit on top (flat) and then more mix on top. Next time around I will put less mix at the bottom.

Thursday, March 17, 2011

PDF Tutorials

How would you all like some free tutorials on how to make yummy cake toppers, or cookies or everything fabulous to do with food...????? Well go here and read all about it. Louise is allowing us to have her wonderful tutorials for free and I can't wait to get my hands on them. You must stop by and do what is needed to get your hands on them yourself.